
Facility Manager Log 2021-08-27

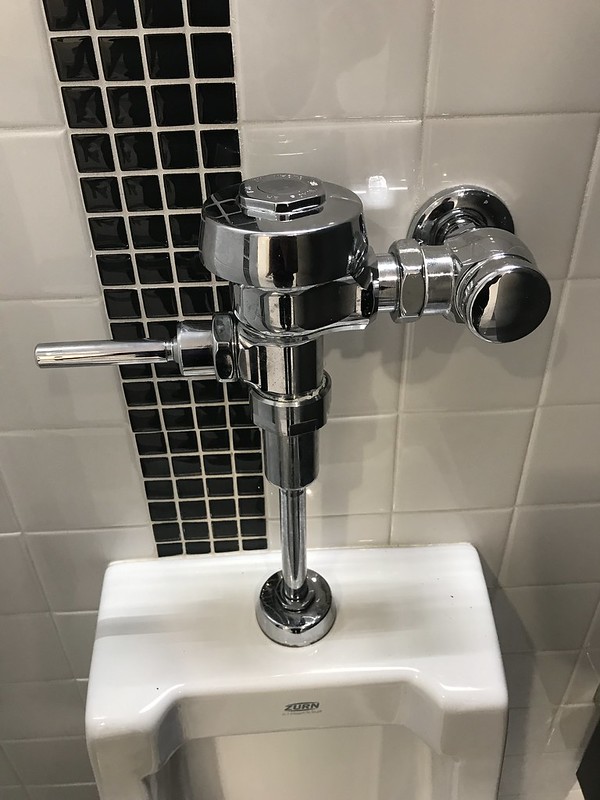
A common maintenance job that must be done in a commercial building is to repair a leak in the toilet flushers. Here is a short video showing the type of leak.

To do this, you will need to order a "Vacuum Breaker Repair Kit", which is a rubber piece with a plastic stiffener. What happens is that hard water tends to make the rubber hard over time. Without flexibility, the rubber component is not as effective at doing its job. The part is going to depend on what brand of flusher you have. In our case, it's the Sloan V-551-A kit for the V-500-A and V-500-AA flushers.
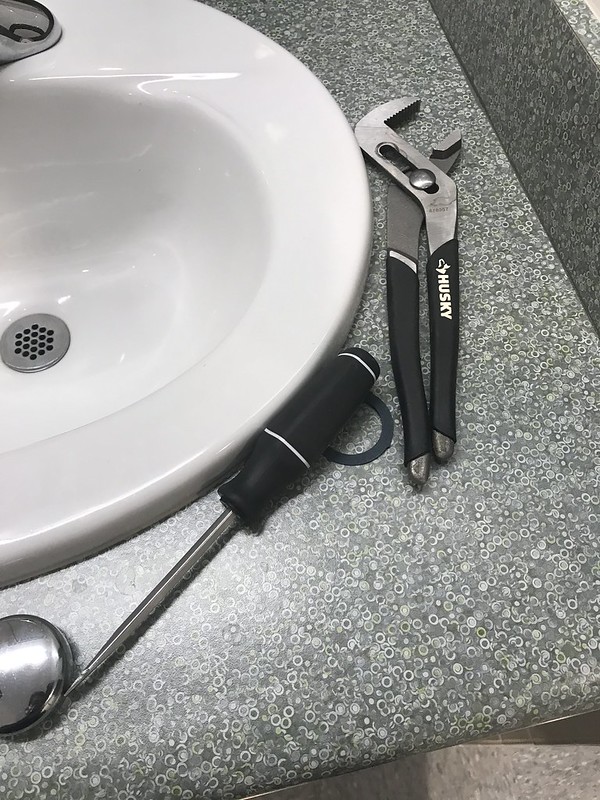
You will also need a smooth-sided wrench. If you do not have one, channel lock pliers will do the job with the help of a rag to prevent scoring the chrome finish. You will also need a standard screwdriver.
Before starting, you will need to shut off the water by removing the cap on the valve. Then, use the screwdriver to turn the valve.

You will begin by disassembling the flusher using the channel lock pliers with a cloth, or using a wrench with smooth jaws.

There are two collars you will need to loosen. One connects the flusher to the water source. The other collar connects the flusher to the toilet or urinal.
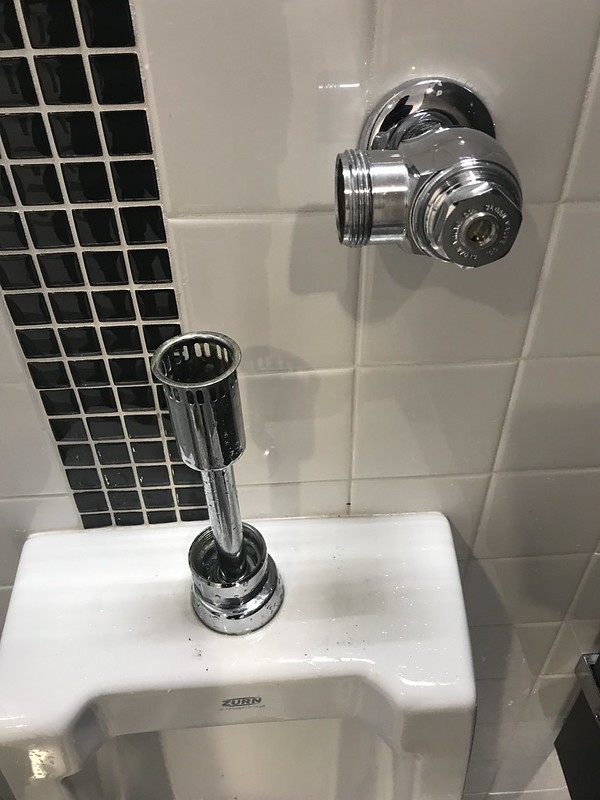
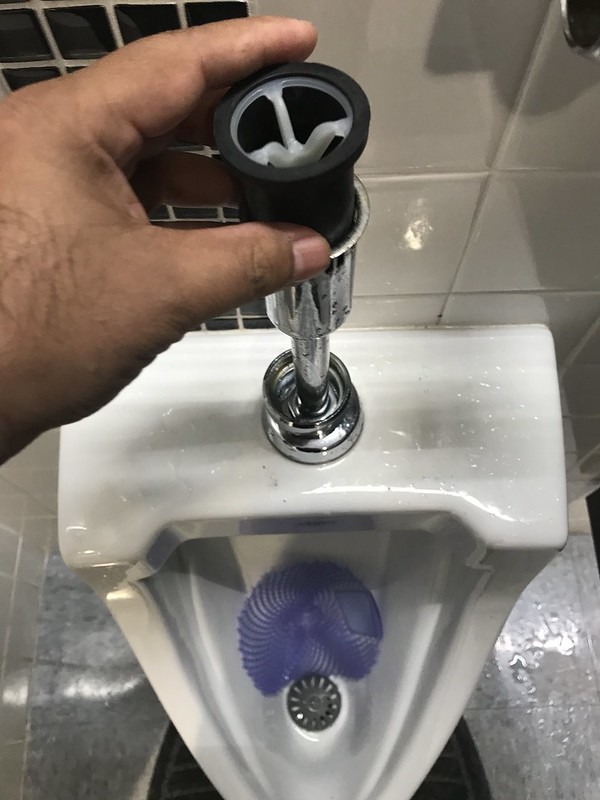
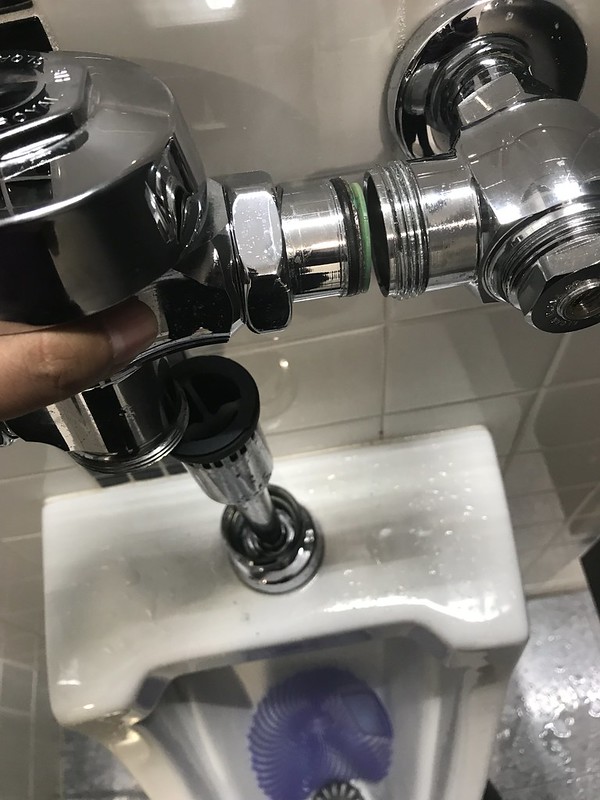
Here is the entire piece removed with the vacuum breaker still attached to the flusher. You may have to pry off the vacuum breaker if the rubber has become stuck to the corrosion.

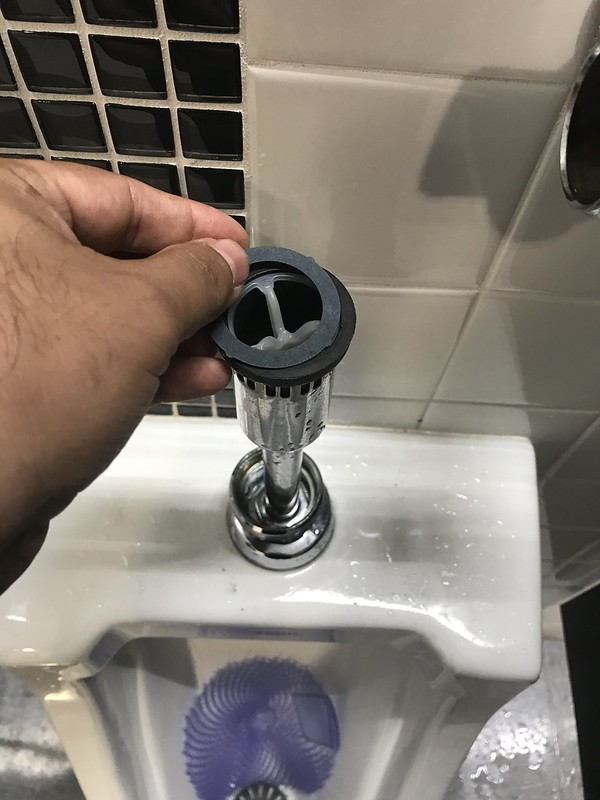
Here is a picture of the old vacuum breaker with a deformed component inside. You can see the scale and corrosion on the rubber component.

Now we place the new vacuum breaker in place.
It comes with a gasket to make a proper seal.
Then we reinstall the flusher. Be sure to inspect the o-ring before reinstalling. If it looks torn or worn, you may need to replace it.
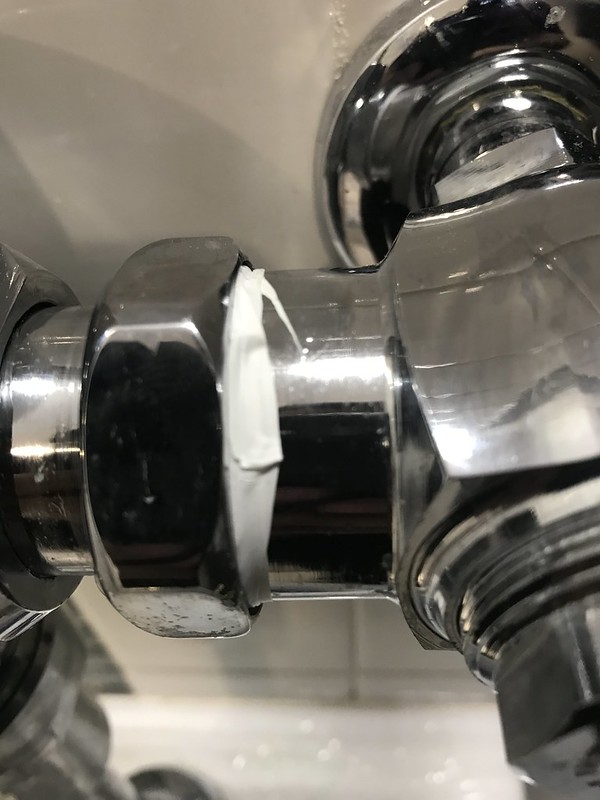
Personally, I prefer to use Teflon tape on the threads before tightening the collars. This makes it easier to install and remove in the future. You can see here excess Teflon tape that I have not cut off yet.
Once you have turned on the water supply and tested for leaks, you will need to reinstall the valve cap. Sometimes they will come off on their own. Sometimes they come off with the cap holder. If the cap holder came off, you can screw it back into place.

Then you can push the chrome valve cap back on to the holder.

That's all there is to it. By learning how to do this, you can avoid the expense of calling a plumber. In our building, for example, we have 22 flushers. We would either have to call a plumber every time one leaks, or wait until several leak to call the plumber to spread out the trip charge. Or, we could just do it ourselves.
Facility Manager Log 2021-08-27

Facility Manager Log 2021-08-26

Facility Manager Log 2021-09-03
Leaking Toilet Flusher Repair

Blogging Again

Facility Manager Log 2021-02-25
TPO Roof Leaks
Facility Manager Log 2021-08-25

Studying With Mem.ai and Chat GPT

2021-05-06 Facility Manager Log